Sunday, October 31, 2010

Halloween Costume contest results

First prize to Cathy the scarecrow! Congrats winner of our $50 gift card.
 Second Prize to Diane for her Zombie Quilter costume. Winner of a $25 gift card.
 Third prize to Gillian who rocked her Pirate costume for the a $15 gift certificate!
Thanks to all who entered the contest!

Thursday, October 28, 2010

Fabric update

This elegant music and rose themed fabric has the beautiful border print above and all these coordinates below. Several bolts with words on them for you collectors!
Owl and other cute critters are in this whimsical line
 It has a cute zig zag border print
The cutest dinosaur line arrived this week. It makes me wish my little boy was still into dinos!

 It even has a panel and a free pattern to follow.  Quick and easy! I can feel some pillow case kits on the way with these!

Festival is one week away! We still have some tickets available if you haven't purchased yours already.  AND don't forget the costume contest on Halloween from 12-5.

Christmas towel

Materials needed: 1 yard trim
1/4 yard ruffle fabric ( for me the red and white stripe)
1/8 yard band fabric ( for me the snowflake fabric)
1 hand towel
Basic sewing supplies 
sewing machine

Step one: Cut out your band: Measure your towel width wise  and add 1/2 inch to that. My towel was 16.25 inches so I cut my band pieces to be 16.75 inches by 2.5". ( you need two)


 Sew these together pillowcase style ( right sides together) and leave an opening on one of the long edges to flip it right side out. ( use 1/4" seam allowance)
 Trim your corners before you flip
 Press
Here is your band. Note the opening. Set this aside for a few moments while we work on the ruffle. We will be making our ruffle just like we did in the 8/18/10 blog post if you want to refer to that for more detailed directions.
Cut your ruffle fabric to be 5" x WOF then trim it down to double your band width. Mine was 5"x 33"
 Turn your short edges under and stitch to hide your raw edges.
 Press in half lengthwise.
Here is where you do the nifty zig zag over the pearl cotton for your gather.
 See the black pearl cotton running under the zig zags.
Gather and tie your ends when you have the ruffle measuring the width of your towel.
Now for the pinning!  Pin your ruffle so that it's long folded edge lays even with the bottom edge of your towel. Pin the band on the towel so that it catches the ruffles long raw edge along its top. Baste using thread that matches the towel color in your bobbin.


Now switch to a zipper foot if you have one.  This trim didn't have much of an edge on it to have it in the seam like I did on the first towel so I decided to just use it on top of the band instead of wrestling with it. The zipper foot with the needle in the far right position allows you to stitch the trim on neatly and also covers the basting stitches.
 Repeat for the top of the band.
 Two down one to go!


Monday, October 25, 2010

Halloween Deals and Costume Contest

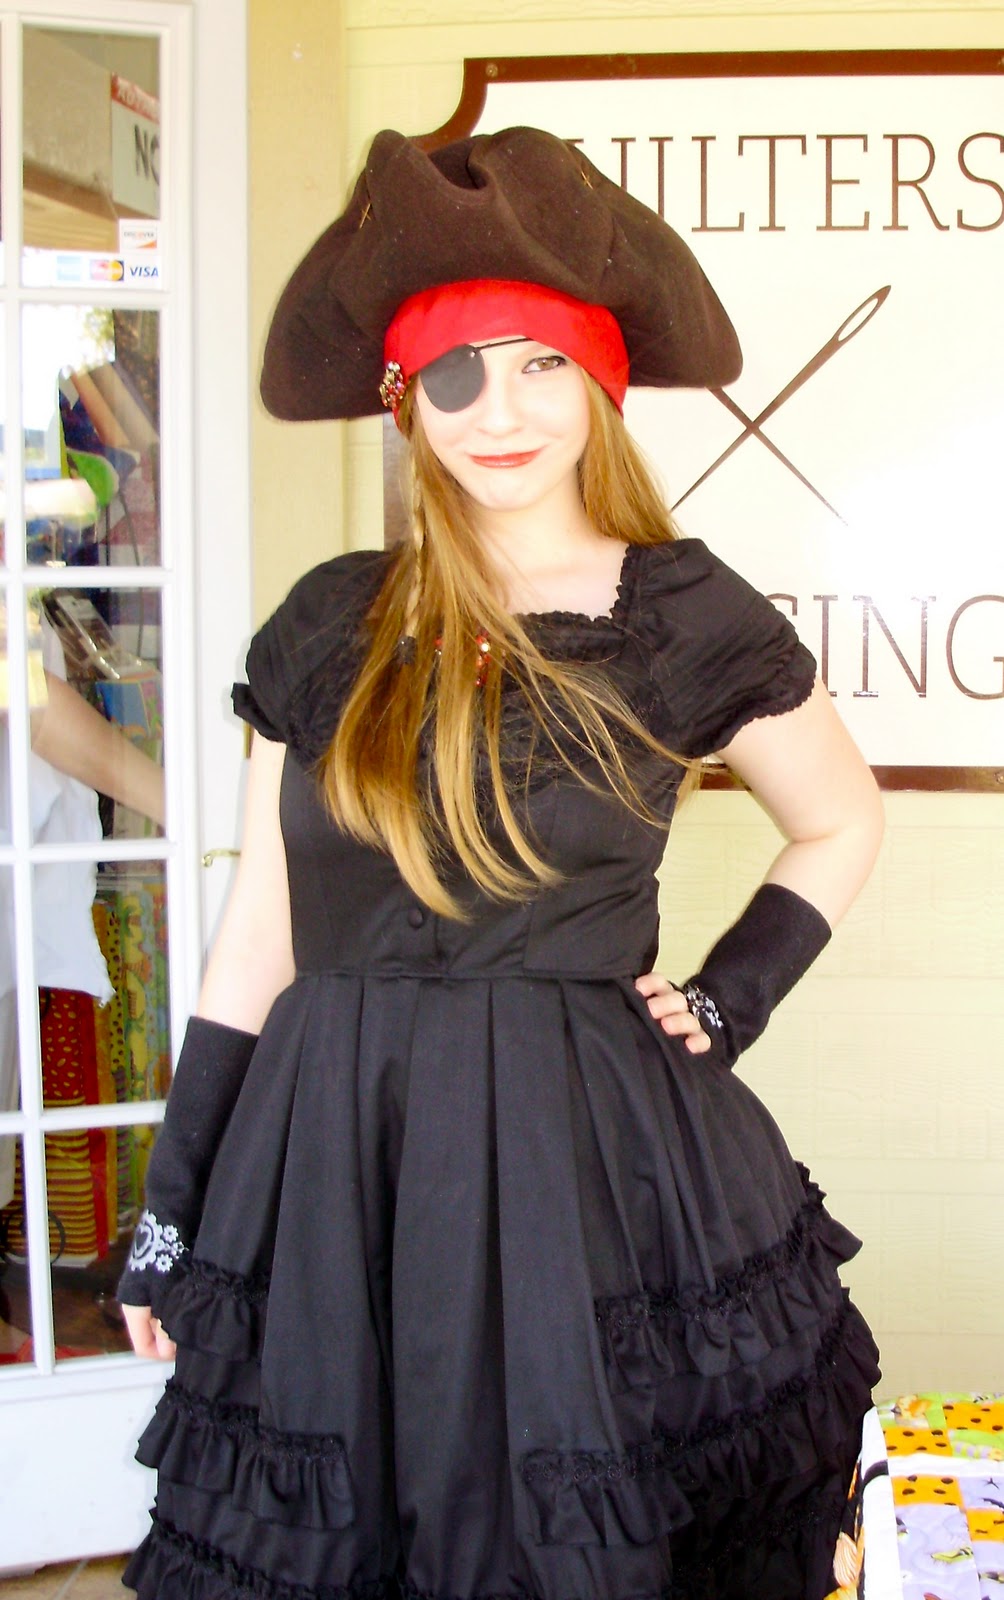
Visit our shop this Sunday, October 31st between noon and 5 p.m. IN COSTUME and you may win:

1st prize:  $50 gift card
2nd prize:  $25 gift card
3rd prize:  $15 gift card

We will take your photo and contest results will be posted on our blog and website.  Come join the fun! 

Did we mention that if you visit us dressed in costume this Sunday you ALSO get 20% off your purchase of fabric, notions, patterns and books (not to be combined with other sales or discounts)??
 
 Continuing on sale and marked even further off:
 
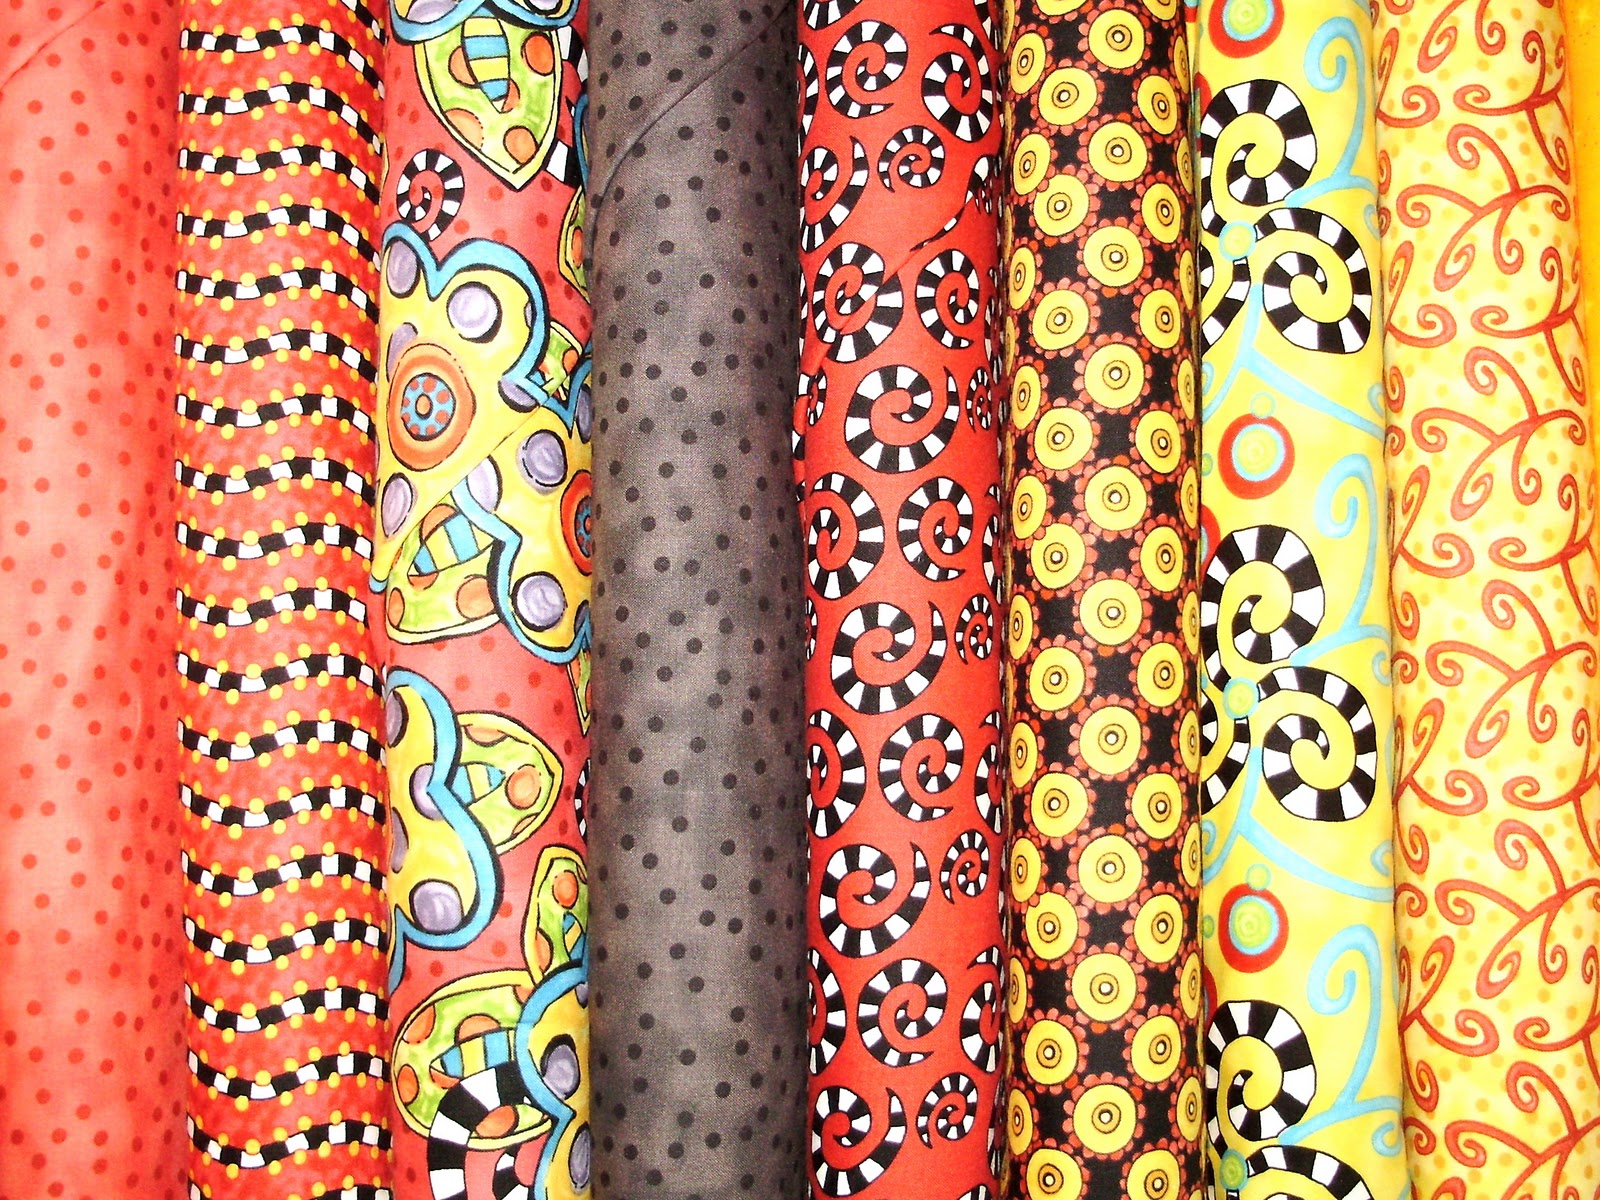
45% off fall, Halloween and Eek monster fabric
20% off our selection of wide-back fabrics (106”—112”) We have 24 bolts to choose from!
 
 Free sewing on Fridays from 9:30 a.m. to 10 p.m.  Come join us!
 
Remember we will have open sewing on Thursday—Saturday during the quilt show, November 4th through November 6th during regular business hours. Get inspired, then come sew!

Friday, October 22, 2010

Busy Week

It has been a very busy and fun week at the shop. The weather has cooled down and people are out and about thinking about holiday gifts, etc...
We had a hand applique class, machine quilting class and a Fabric Bling group meet this week in the classroom. I love seeing people charged up and inspired when they have learned a new technique, a new door opens and off they go. 
This little guy showed up at the shop this morning wanting some quilting lessons maybe?  I suggested he instead look at a long arm machine since well....you see he had very long arms.  I said sadly we were a bug free store though and he could look online possibly on our website of Nolting Longarm's website for further information. Any of our human customers are welcome to come in and talk with Patricia about purchasing a long arm or having a quilt top machine quilted at the shop.
Here are some new fabrics. I confess we have never really been into Civil War Reproductions but this line from Marcus had a book that went along with it kind of telling a story that was interesting so we decided to give them a try.  What do you think?


More batiks arrived this week! And we got the cutest coffee fabric line from Clothworks to balance out our tea party line! It has a panel and a free pattern that even includes directions for pot holders! 

We still have quilt festival tickets available stop in and avoid the lines downtown! Scissor guy will be here early next week- get your scissors in!!


Sunday, October 17, 2010

New techniques anyone?

Dolores, is one of our teachers at the shop and she loves to dabble in all different techniques, play with different media, tools etc... and she wants to share what she has learned with our customers.  Fabric Bling is the name of this class.  You'll be exploring all different ways to play with the fabric and you can come once or  more than once to build on what you have learned like a course in creativity and inspiration!
This is just getting started so now is the time to jump in if you are trying to learn new techniques but do not want to invest huge amounts of money into materials for a new project.  Dolores keeps costs low and the class fee is only $15 per student --  all you bring is your basic sewing supplies and sewing machine this time.  Here are some samples of the technique you'll be learning this week. Fabric Weaving with decorative stitches to embellish! Look at these beautiful samples:


If you love the technique she designed a purse pattern to use the fabric you create in class.
 Or maybe as a wallhanging? 
How cute!
Class is Thursday October 21 from 5-8pm.   Spaces still available!

Wednesday, October 13, 2010

Feather your nest/quick gift idea

I acquired 3 towels on clearance at that fancy store with a red bullseye logo for $2 each.  I decided they needed a little {love} from the shop. I will post each towel's transformation here in a  tutorial form as I complete them so you'll have three cute and quick gift ideas or decorating ideas to start the fall season.


Towel #1
Materials:


1 hand towel
1/8 yard of fabric (4.5"x WOF) that compliments your towel color/season/ theme etc..
1 yard Trim matching the towel and fabric combo
Basic Sewing supplies- matching thread, rotary mat, rotary cutter, ruler, pins, sewing machine with zipper foot, iron etc...


First measure your towel width. (Mine is 16.5")  


Cut your fabric piece to measure one inch longer than your towel measurement and 4.5" wide. (I cut mine to measure 17.5" x 4.5").


Next cut your fabric piece lengthwise down the middle giving you two rectangles- mine measured 17.5"x 2.25" each.


Using a zipper foot, sew the trim along the right side of the fabric rectangles' long edges keeping close the the raw edges.  Make sure your fringe is laying on the fabric and the edge of the trim is laying with the edge of your fabric:


Once both sides are sewn on you'll have this:


Next sew the strips right sides together along all four sides but leave an opening in one of the long sides about 3 inches long as you would a pillowcase you mean to turn right side out. Seam allowance 1/4" for this making sure you are stitching beyond the stitches that attached your trim to the rectangle so they are hidden when you turn the right sides out.


Trim your corners. Flip the right sides out and be careful to get your corners poked out using a manicure stick or knitting needle. Press neatly turning the raw edges of the opening in.


Lay the decorative band you have just created onto your towel and pin in place wherever it suits you.


Match your top thread to your band and your bottom thread to the towel color.  Top stitch the band onto the towel 1/8" from the trim on the fabric.  You'll catch the band opening which was turned in as you stitch closing the opening with these stitches.


Here is your finished towel ready to use or to gift!

Other ideas:
Use an embroidery to stitch a monogram onto the band before placing it on the towel or use children's novelty fabric and give as a burp cloth at a baby shower. 
This technique will be used but, added onto in the next tutorial so stay tuned!

Friday, October 8, 2010

New fabrics and lots of them!!


Michael Millers wildflower fabrics and coordinates.
 
*******************************************

Ginny Beyer's fabric line with borders "Sophia" and her border prints from the Northern Lights line and others.


************************************************
Marcus Brothers line called Metropolis with rich blues and antique browns.

**********************************************
Mrs. Sew and Sew
*********************************************
"Happy" from In the Beginning fabrics
*********************************************
Violet Wishes- check out the current issue of Fons and Porter Magazine for an adorable quilt made with this line.