Wednesday, December 29, 2010

Fabric Collage Tutorial

I made a sample for the shop out of the Daily Grind fabric line. 
I used the Atkinson pattern called "Yellow Brick Road".  As I was cutting fabric for the borders the pattern says you can use the blocks to put cornerstones in the border but.... I had this panel:
which I was going to use on the back with some other pieces from the line and I thought- what if I used some of those squares for the cornerstones in the border? And wouldn't you know it? Serendipity struck because they were exactly the size the pattern called for the border to be! How cool is that? 
So wah-lah. 


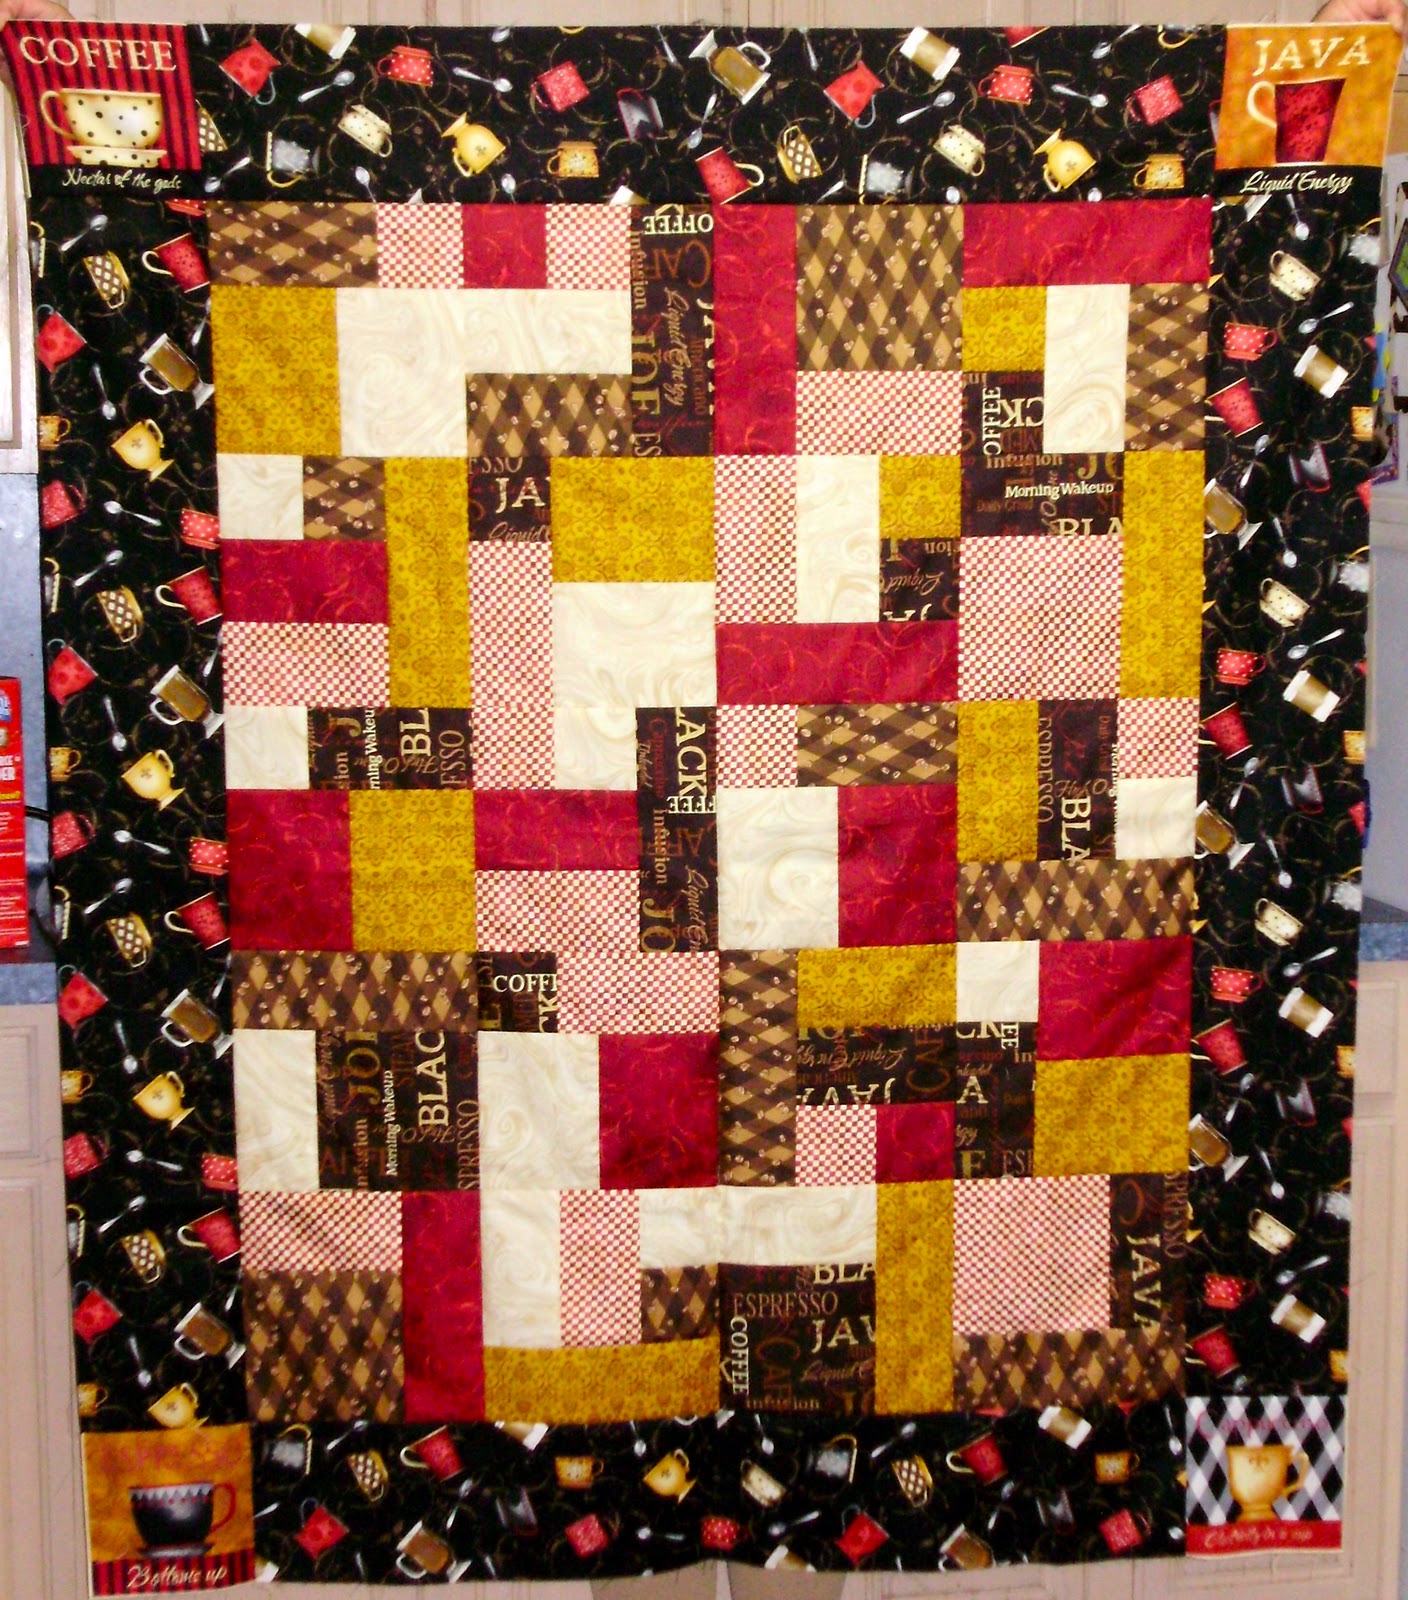
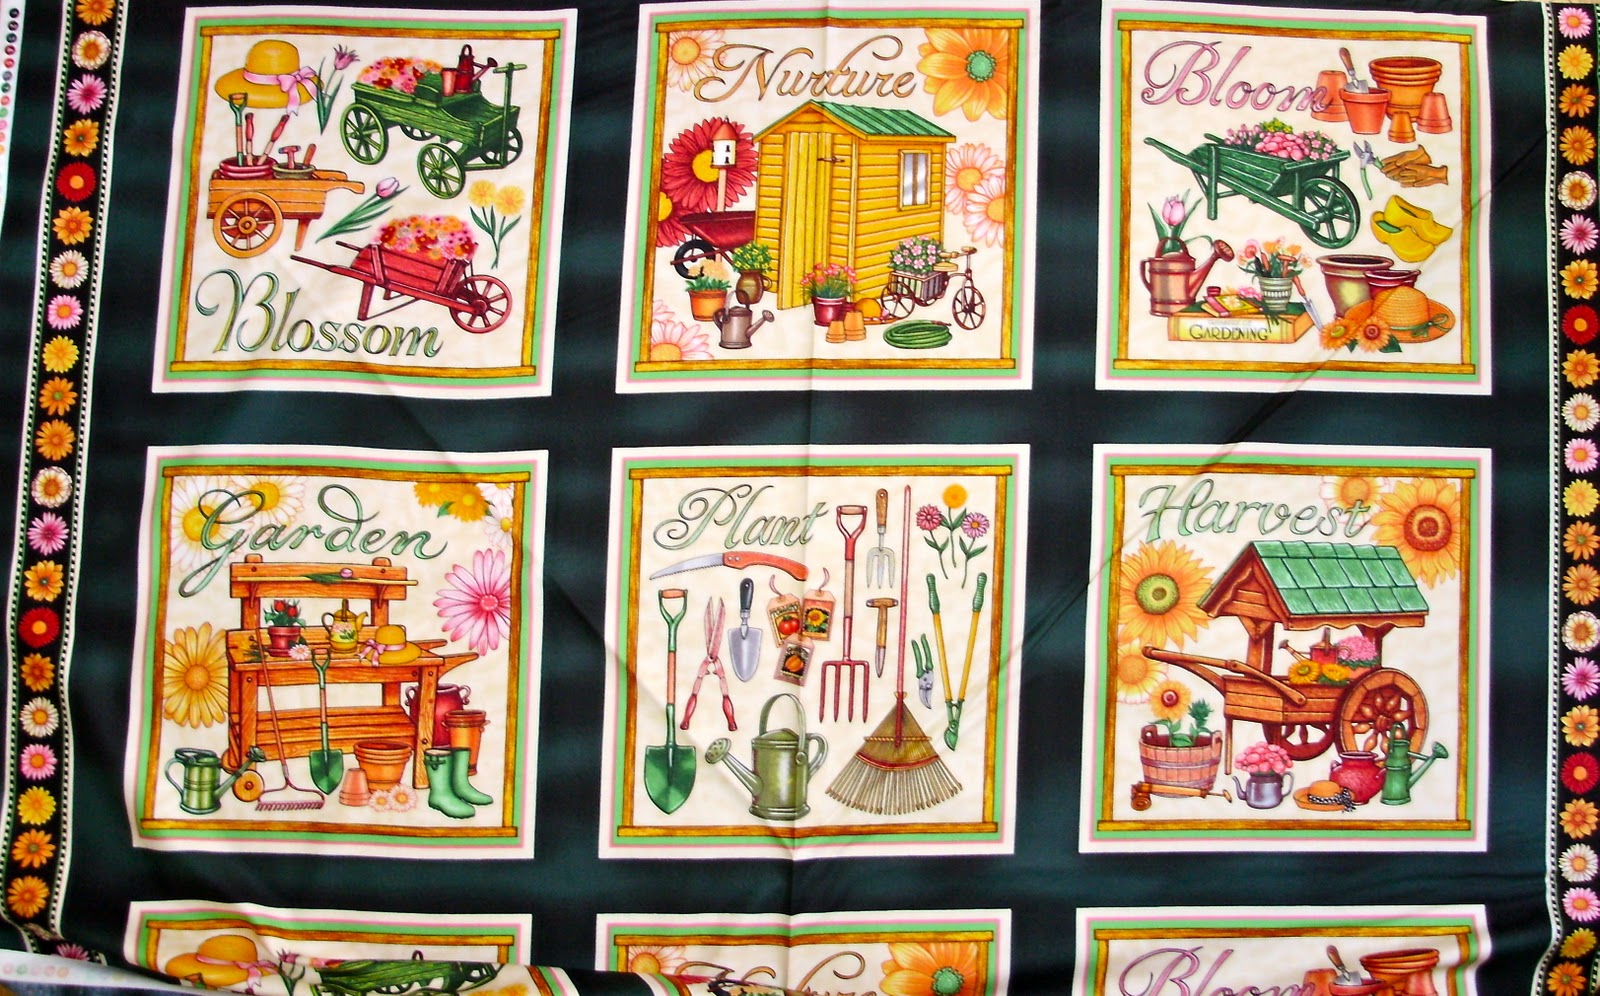
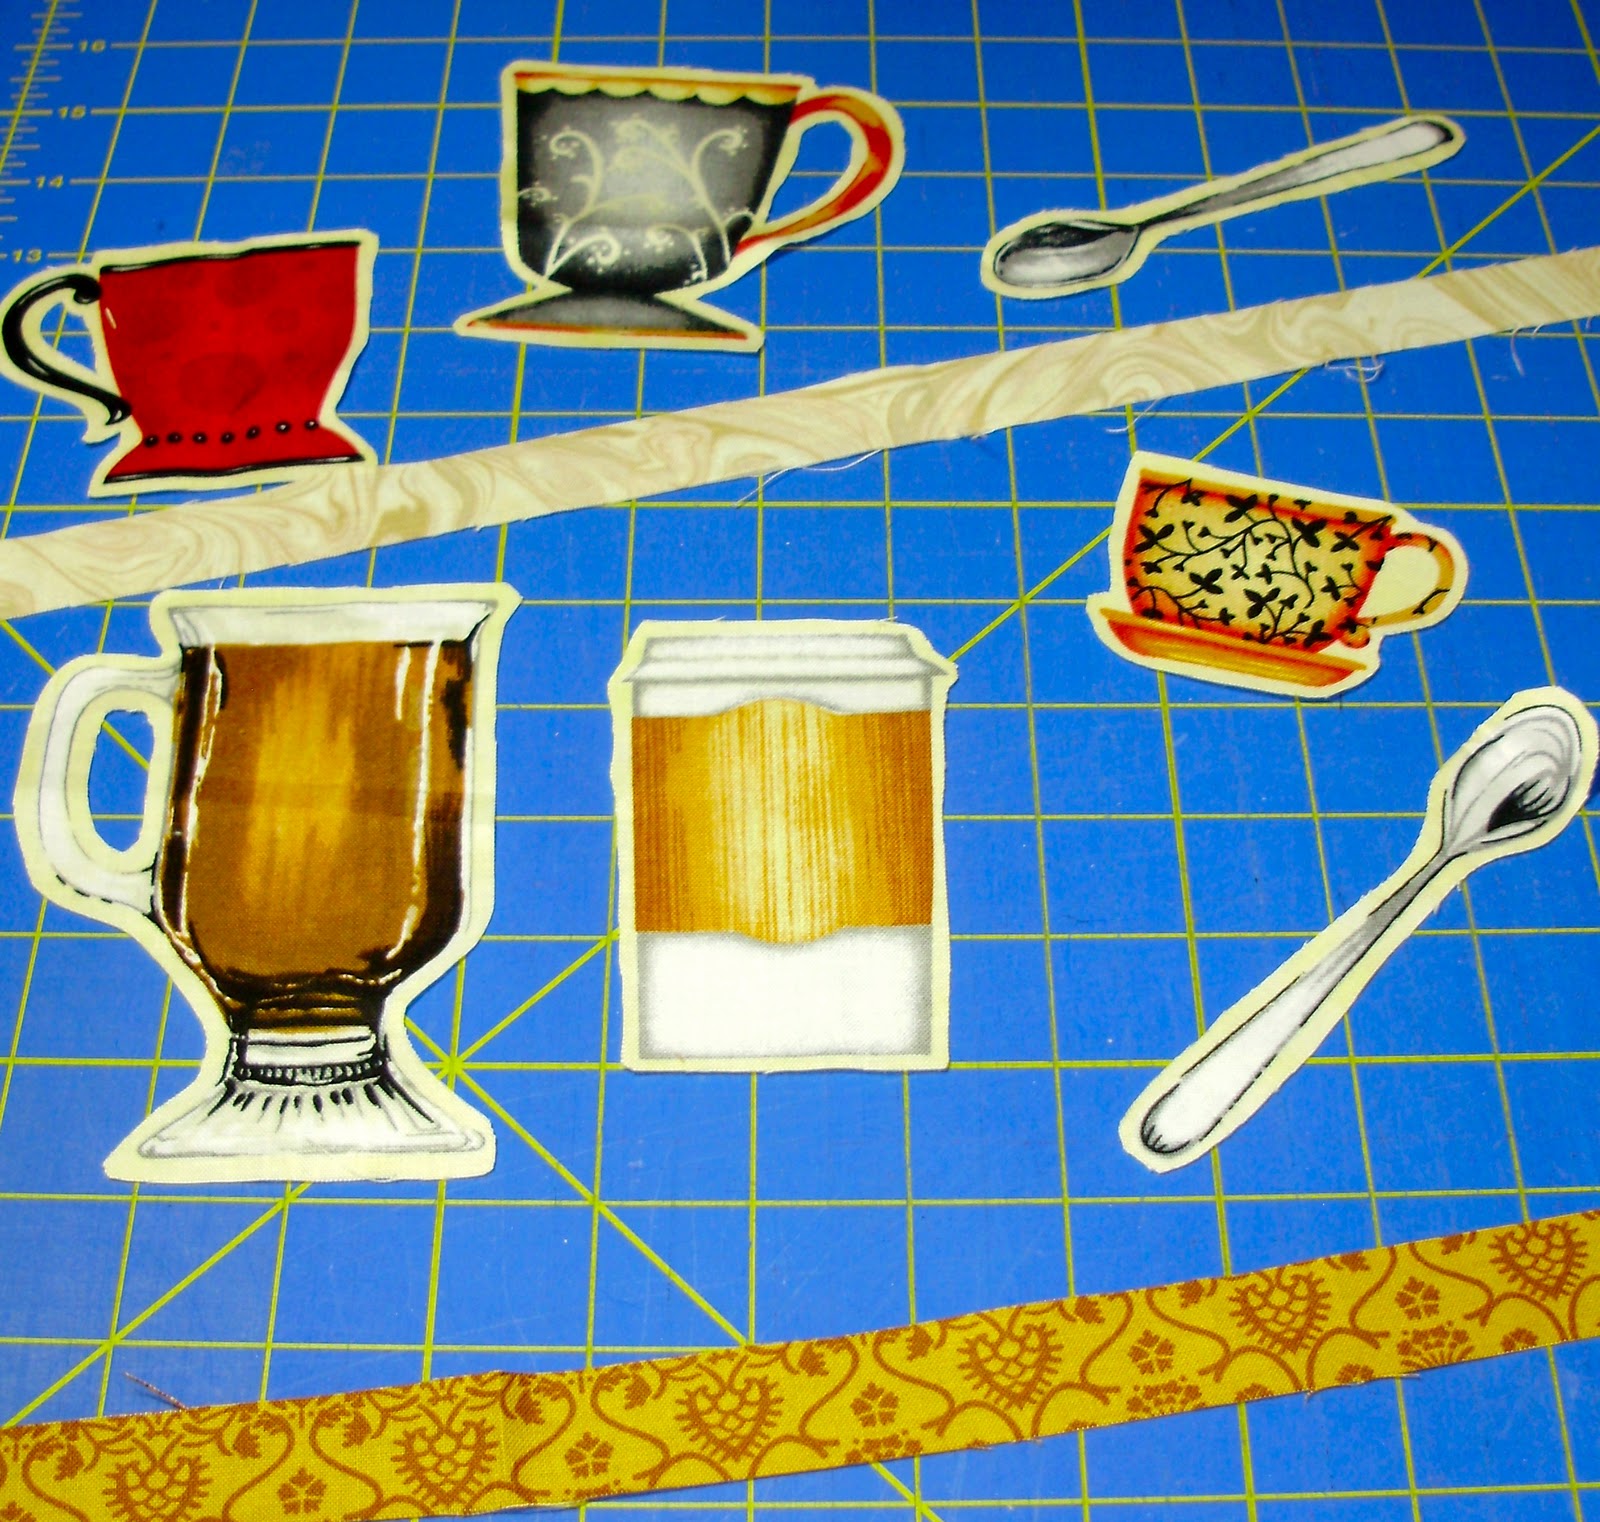
But when I had fussy cut those square out of the panel, I had cut carefully around all these cute little coffee cups.  It was too much to throw away but what to do with them?
Fabric collage
What you need:


Modge Podge gloss coat (hit Hobby Lobby for this)
a paint brush
scissors
scraps of fabric
a fat quarter for the background
one stretched canvas  12" x 12"( Hobby Lobby or Jerry's Artarama for this)- the kind where the canvas is wrapped and stapled tightly around 4 wood pieces.
Stapler


Step #1.
First you cut your background fabric to be about 16 x 16" and put your canvas face down on the wrong side of the fabric in the center. Wrap the fabric up around to the back and staple it in place-- the wood on these is really soft so your staples will go through. Staple in several places on each side. 
Pull it snug but there is no need to stretch it super tight. Fold your corners neatly-- everyone is well practiced at this after wrapping all those Christmas presents last week! 
Flip and check your work. 
Step #2.
Fussy cut some images you want to collage. I cut out coffee cups, spoons and also had some long strips left from the quilt I grabbed too.  Cut out more than you'll need so you have some to play with.
Step #3.
Audition arrangements on your background. Move them around add some/take some away etc... Take pictures as you go so you can keep playing without losing the layouts you like. 
Pick your favorite from your pictures. Now remove all of them from the background. Here is where you have to work a bit fast.
Step #4.
Cover your whole blank background generously with modge podge.
 Don't worry it will dry completely clear! 
Now using your favorite camera image place the first layer of fabrics and modge podge over them. If you don't place them perfectly just lift them and replace them. Go heavy on coating them with the modge podge once you have them where you want them. You want it to really soak through the fabrics.
Now do the next layer and coat them as well.
And I had one more layer to add the spoon in the tall cup!
Make sure everything is well coated with the modge podge once more and then do the edges. You'll have to prop it up from underneath so it dries without sticking to your table! I used some empty spools of thread under the wood in the four corners. 
 Then we wait for it to dry overnight. This is the hard part because I can't wait to see it done!
So now I have a neat piece of art I made for the wall and a quilt that matches it! 
 The Modge Podge hardens and dries clear with a glossy finish.
To celebrate lets make the magic word "Folgers" which happens to be Deb's favorite coffee. Mention it at check out and receive a free fat quarter of your choice!


Saturday, December 25, 2010

Silver!

Michael Miller Silver Fairy Frost, Superior Threads metallic silver thread, Gingher scissors, Bias Tape Machine Tips, Needle Threaders, Quilters Basting safety pins.
So the weather actually got cold for the Christmas holiday in Texas! We hope everyone was snug at home with their families to enjoy the holiday.
When we re-open on Monday at 9:30 am the color password will be Silver, saying that word at the register earns you 25% off one item (fabrics, patterns or notions) of your choice! 
Ready to start some new projects? So are we! Check the calendar for upcoming classes of all levels for quilts, totes, purses etc.... 
Open house is January 8th but you can stop in and sign up anytime!

Monday, December 20, 2010

12 Colors of Christmas-Purple

Purple BobbinSaver Ring ( also doubles as a margarita salt ring thingy!). Violet Wishes Fat Quarter bundle, King Tut Variegated Thread and Masterpiece in purples.
Come in and say the color of the day ( Purple) and recieve 30% off one item of your choice! 
Free Sewing in the classroom on Wednesday, join the wonderful ladies and get your projects and gifts done for the holidays.
We will be closing for the holidays Thursday at 4:30 and will not be open until Monday December 27th. 
Mark your calendars for our open house on January 8th, 9:30-12:00, meet the teachers and check out the class samples. Sign  up for classes and oh did I mention a sale???

Saturday, December 18, 2010

Catching up!

This week we totally re-vamped the layout of the store - I think we moved EVERY one of the 1,100 bolts of fabric we have except the batiks. Yes I did say 1,100 bolts, a diligent and supportive friend counted for us! I think you will be pleased when you next visit us!
We got several new fabric lines in this week so... cue photo montage!
 Gypsy by Michael Miller has two large bandana type panels and two neat border prints. The free pattern on their website is very cool and uses these!
 here are the coordinates for Gypsy.
Next: Mrs. Greenthumb
 the panel (above) the coordinates (below)
And now, Hydrangeas by Clothworks 3 color sets that mix beautifully with each other.


Talented Houstonian Robyn Pandolph's line Rue St. Germaine. Full of pretty pink roses with creams and beiges. Very feminine and soft.
And some bluebonnets and wildflower fabrics we just couldn't say no to by Moda.


We also got an adorable puppy dog line with a cute panel and border print with plenty of coordinates:

These cute bright prints for young artists! Wouldn't these make an adorable art apron for a child? Hmmm... a tutorial may be coming up....
Inspiration Garden also has a pretty panel with nice messages on it.
 Along with several pretty coordinates. (below)
Lastly, even though snow is in short supply here in Southeast Texas that hasn't effected the Christmas spirit in our customers!  See one of our favorite Friday free sewing ladies had Christmas all the way down to her toes! Thank you Marge R. for letting me blog your toes!


Wednesday, December 15, 2010

Colors of Christmas- Brown

Moda Neutrals Jelly roll( in creams tans and browns), Brown Velveteen rick rack, Brown Aurifil Thread, Brown Tsukineko paints, Clover Seam ripper (with a brown handle), Brown polka dot ribbon, Variegated Brown King Tut Threads.
Brown is also the color of chocolate, really good gravy, rich earth, wood, coconuts, grizzly bears, chewy Brownies, playful otters, coffee and hot cocoa! 
Stop in and mention the color of the day {BROWN} and receive a 25% off discount on your whole purchase! 

Monday, December 13, 2010

12 Colors of Christmas- Gold

Golden Threads Quilting paper, Gold Shiva paintstick, Reeze Hanson's Poinsetta Table topper pattern, Stonehenge Fat Quarters, Gold Tsukineko inks, Gold Kimono Silk thread, Gold Angelina, and gold Fairy Frost Fat Quarters.
Yes the password is GOLD! Mention the password at checkout and receive 25% off your purchase.
The classroom is open for anyone who would like to use it Wednesday (9:30-5:30), Thursday(9:30-5:30) and Friday(9:30-10:00pm!).  As an added bonus - there will be some freebies for anyone who takes us up on the classroom usage!  
We'd love to see you.

new fabrics from Studio E

We hadn't even heard of Studio E fabrics before we opened the shop and boy were they a good find! Their Carnival line below is really fun and bright perfect for teens.
 Love the border prints!! A customer already bought some for pajama pants.
 Also love their black and whites.


Extra Free sewing in the classroom this week on Wednesday,Thursday and Friday. Get your holiday projects done! Don't forget to check the blog for what the current password is to get a 25% discount on your purchase.

Saturday, December 11, 2010

BLUE!!!

Remember to mention BLUE as you check out and get a discount on your entire order!!!
Pictured above: Blue chaco marker, Hungarian Blue Fat Quarter star pack, Blue Moda bias binding, blue Grabbit magnetic pincushion, blue gummy thimble and Blue ceramic buttons!

Thursday, December 9, 2010

12 Colorful Days of Christmas-RED

So we are doing a little color theme for December. Come in and tell us the color on the blog and get an additional discount on your entire purchase! 
Today's color is RED.
In the picture: Red pompom trim, Sewline marking pencils, gummy thimble, needles, Heart shaped yo-yo maker, and red kimono silk thread!
You don't have to buy anything RED to get the savings just come in and tell us the color of the day when you are checking out--Whatever you are buying, you will save on!
P.S.- Lots of additional free sewing days from now until Christmas check the calendar. Customer Nancy T. says she enjoys working on her Phd. in our classroom ( projects half done!) How cute! See you soon.

Sunday, November 28, 2010

Christmas Ornaments Tutorial

Over Thanksgiving weekend when we were closed for a few days I found some time to clean out my sewing/craft room, finish some quilts, watch some movies and decorate our Christmas tree at home. 
In the process of all that I had a little idea pop in there somewhere when I came across a bag of styrofoam balls I had purchased many years ago which were originally intended to be a solar system model for the kids. I like the new direction the styrofoam balls are rolling in though.... Christmas ornaments using scraps from this quilt and the Christmas towel tutorial!

Gather:


4 inch styrofoam ball
24 inches of white velvety rick rack
2 complimentary fabrics ( Christmas themed) measuring 4" x 13"
Matching thread
Yarn needle
1 yard of sturdy thin string or twine
Basic sewing supplies
Glue or hot glue and hot glue gun
Sturdy 2 inch pin


1. Pin 2 fabric pieces together and sew along one long side. Press seam open. (I used black thread so you could easily see in the pictures you should use what matches your fabrics.)


2. Fold one of the unsewn raw edges  down towards the back of the fabric 1/2" and press. Repeat with the other.


3. Pin and sew a generous 1/4"  from the folded edge. Repeat for other edge.


4. Next fold the fabric in half bringing the short edges together (fabric right sides together) and sew from one turned under seam from step 3  through the center seam and down to but NOT over the bottom turned under seam. Do not sew over your seams from step three or you won't be able to gather your fabric at the top and bottom of your ball.


5. Thread your yarn needle with your twine or thin yarn. Run needle through the tube created when folding down the top edge. Leave a little extra so you can pull it and draw it up later.  Repeat for bottom edge. These are your drawstrings.


6. Flip fabric right side out. and insert the ball into the tube you have created. Try to place the seam at the fattest part of the ball and then snugly draw in the bottom drawstring knot in place and tuck ends in to hide them. 
Repeat for the top drawstrings.
Here is what you'll have:


7. Glue your trim around the middle- use your seam line as a guide. This part is really fun for the kids to do, plus what is a Christmas craft without glue????


8. Fold the remaining trim in half and  stick your pin through the two ends.
Squirt some glue in the top belly button of your ornament and stick the pin with the trim in.
Wah- Lah! Your own cute little fabric covered Christmas ornament. Perfect to gift or to decorate with! Mine is made out of Riley Blake's Colorful Christmas fabrics available at Quilters Crossing!


Options:
You could sew a trim into the seam in step 1 if you chose to or you could couch a trim over it after you have sewn the two fabric pieces together.
You could use ribbon for the drawstrings eliminating the need to hide the drawstrings, if you do make them longer so you can tie them in a bow.
Add embroidered names the fabric before sewing the two pieces together.
Make the ornaments in someone's favorite colors instead of Christmas colors.
Styrofoam balls come in many sizes- adjust your fabric measurements to suit and make all different sizes!
Trim with rick rack, lace, ruffles, piping, sequins, beads etc....